The most persuasive thing you can put on your site: before-and-after galleries
Proof you can see in a second
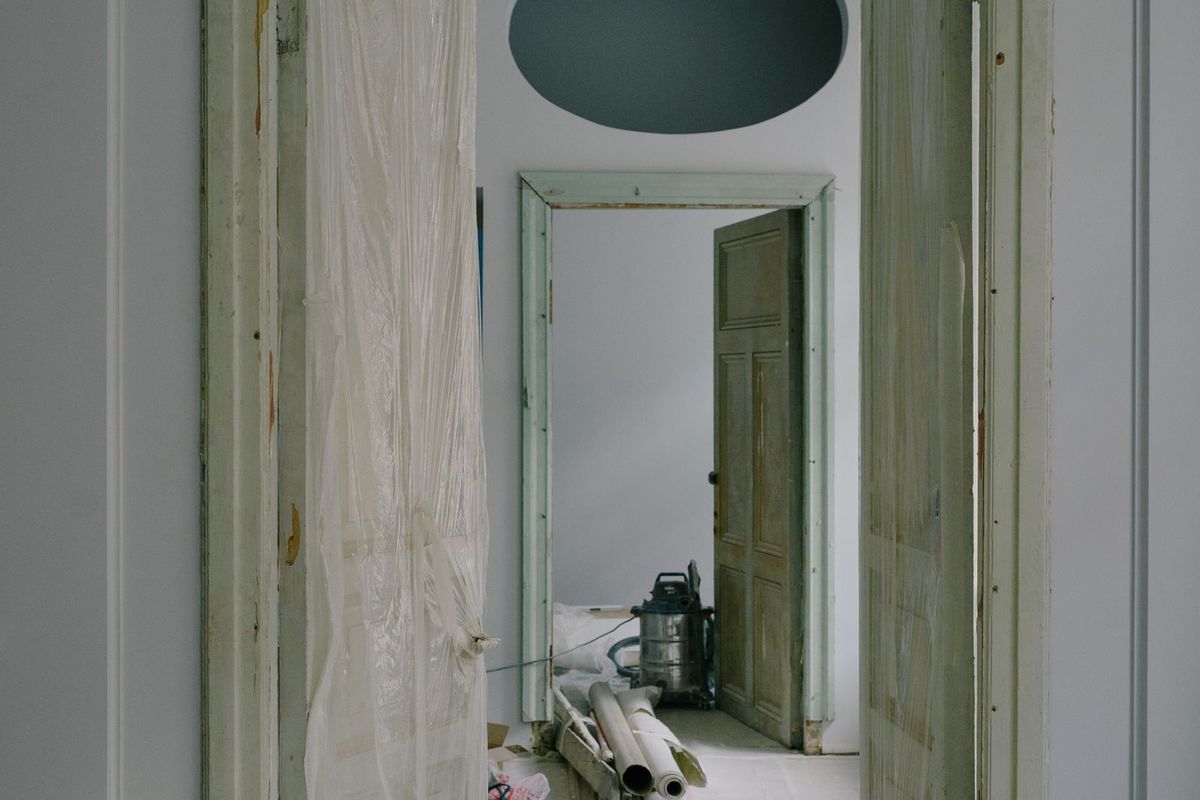
If your work transforms something, from tired to beautiful, from broken to fixed, from overgrown to tidy, then before-and-after photos are the single most persuasive thing you can put on your website. Nothing else makes the case so instantly. A visitor does not have to read a word or trust a claim; they see the tired, unloved starting point and the transformed result side by side, and in one second they understand exactly what you can do, and start picturing it for themselves.
Trades that transform things, builders, decorators, gardeners, cleaners, hairdressers, restorers, upholsterers, are sitting on their most powerful marketing every time they finish a job. Yet many never capture it, or bury a few finished shots without the before. Here is how to make the most of the before-and-after, from taking the photos to presenting them so they win work.
Why the pairing beats a finished photo alone
A photo of a beautiful finished kitchen is nice, but on its own it is just a nice kitchen; the viewer has no idea what you started with or how much you changed. Pair it with the dated, cramped before, and suddenly the same photo tells a story of transformation, and the viewer imagines their own tired kitchen making the same journey. The contrast is the whole point. It shows the scale of the change, proves the skill it took, and lets people project their own problem onto your solution.
This projection is the magic. Someone staring at their own overgrown garden, unsure it can be saved, sees your before-and-after of a garden just as bad, now transformed, and thinks, "that is my garden, and they fixed it". No testimonial or description does that as powerfully as two photos placed together. The before is not an embarrassing bit to hide; it is half of your best sales tool.
Get into the habit of the before shot
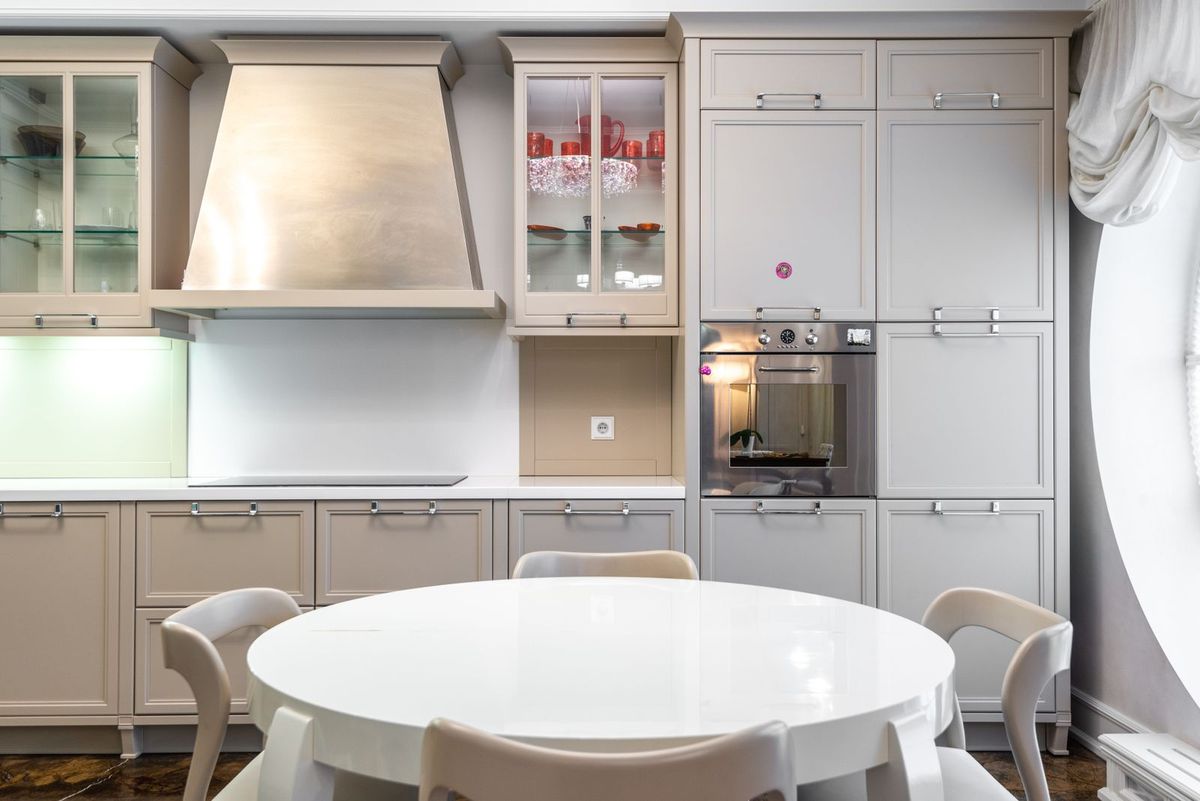
The single most common mistake is forgetting the before. You are proud of the finished job, so you photograph that, but the moment to capture the before is gone. So build the habit: take a quick before photo at the very start of every job, before you touch anything. It costs thirty seconds and turns an ordinary finished shot into a persuasive pair.
The most important technical tip is to shoot the before and after from the same spot and angle. Stand in the same place, frame the same view, so the two photos line up and the comparison is obvious and fair. A before taken from the doorway and an after taken from across the room do not match, and the effect is lost. Note where you stood for the before, and return to exactly that spot for the after. Same angle, same framing, ideally similar lighting; that alignment is what makes the transformation leap out.
Keep it honest
Before-and-afters are powerful precisely because people trust them, so do not undermine that with tricks. Do not make the before look artificially worse with bad lighting or a messy staging, and do not over-edit the after into something the customer will not actually get. Exaggeration is tempting and always backfires, because it sets an expectation you cannot meet and, when spotted, destroys the trust the format is built on.
Honest before-and-afters of real jobs are convincing enough on their own; they do not need help. Show genuine transformations of actual work you did, presented fairly, and let the real change speak. The credibility of an honest pair is worth far more than the fleeting punch of an exaggerated one.
Present them so they land
How you display before-and-afters matters. Place the two images together and clearly labelled, or use a side-by-side pair, so the comparison is immediate and nobody has to hunt for the match. Some sites use a slider that wipes between before and after, which is engaging when it works well, but a simple, clear pair displayed together is always effective and never fiddly. The key is that the viewer instantly sees which is which and can take in the change at a glance.
Organise your gallery so people can find work like theirs. Group by the type of job, a kitchen section, a bathroom section, a garden section, so a visitor with a specific project can go straight to relevant examples. A short caption noting what the job involved adds helpful context. And show a range of jobs, big and small, so different customers all see something that matches their situation and budget.
Ask permission, then use them everywhere
Two practical points make your before-and-afters both safe and far more valuable. First, permission. You are often photographing a customer's home or property, so ask before you publish, and respect a no. Most people are delighted to see their transformation shown off, but a quick check at the end of the job avoids any awkwardness, and it is simply courteous. A brief line while you take the after, "do you mind if I use these on my website?", is usually all it takes.
Second, do not let a great pair live in one place. A striking before-and-after is content you can use again and again: on your website gallery, on your social media where it tends to get shared, in your Google Business Профиль photos, alongside a review from that customer. The same thirty-second before shot, paired with the after, can work for you across every channel you use. Few things a small business creates are as reusable, or as persuasive, so once you have a strong transformation, get full value from it everywhere your customers look.
Put your best transformation where it counts
Do not save all your before-and-afters for a gallery page nobody reaches. Put a striking one high on your home page or your main service page, where it can grab a visitor immediately and pull them in. A single dramatic transformation near the top of your site can do more to convince a new visitor than paragraphs of text, and it invites them to explore the rest of your gallery. Lead with your strongest pair, then let the depth of your gallery back it up for anyone who wants to see more before they get in touch.
A gallery that shows off your transformations, in minutes
Displaying before-and-afters cleanly is easy when the site is built for it. With Semalt you get a complete site in minutes with galleries laid out to show your work, where you can pair your before-and-after photos, group them by job type and feature your best transformation up front, all optimised to load fast. You upload your own real pairs, add a caption or two, and publish.
It is free to try, and you can go live straight away or connect your own domain later. Take the before on every job, shoot the after from the same spot, keep it honest, and let your transformations do the selling.
